Create a bucket and API key
1. Log in to the Amazon S3 Console.
2. Click the Create bucket button, and set the bucket name to CHANGE_THIS_TO_YOUR_ORG_NAME-fes-web-portal. Leave the default options except for the Block all public access which should be unchecked and click Create bucket. Confirm the acknowledgment for allowing the public access to the S3 bucket.
3. Once the S3 bucket is created, click on it. Then choose the Permissions tab ⮕ scroll down to the Bucket policy section ⮕ click Edit and set the following bucket policy below. Replace the BUCKET_NAME_HERE text with the actual bucket name:
{
    "Version": "2012-10-17",
    "Id": "allow-s3-object-public-read",
    "Statement": [
        {
            "Sid": "Stmt1485799942322",
            "Effect": "Allow",
            "Principal": "*",
            "Action": "s3:GetObject",
            "Resource": "arn:aws:s3:::BUCKET_NAME_HERE/message/*"
        }
    ]
}
Once you’re done, click Save changes.
4. Still on the Permissions tab, scroll down to the Cross-origin resource sharing (CORS) section ⮕ click Edit, and set the following CORS configuration by replacing the DOMAIN_NAME_HERE text with the actual domain, where the FES service runs:
[
    {
        "AllowedHeaders": [
            "*"
        ],
        "AllowedMethods": [
            "GET"
        ],
        "AllowedOrigins": [
            "https://fes.DOMAIN_NAME_HERE"
        ],
        "ExposeHeaders": [],
        "MaxAgeSeconds": 3600
    }
]
Now, click Save changes.
5. Navigate to AWS ⮕ IAM ⮕ Policies ⮕ click Create policy ⮕ choose the JSON tab and set the following policy by replacing the BUCKET_NAME_HERE text with the actual bucket name:
{
    "Version": "2012-10-17",
    "Statement": [
        {
            "Effect": "Allow",
            "Action": [
                "s3:GetObject",
                "s3:PutObject"
            ],
            "Resource": "arn:aws:s3:::BUCKET_NAME_HERE/message/*"
        }
    ]
}
As soon as you’ve changed the bucket name, click Next: Tags (optional to set), then click Next: Review.
6. Here, set the policy name to s3-bucket-BUCKET_NAME_HERE-getput (replace the BUCKET_NAME_HERE with the actual bucket name) and click Create policy.
7. Next, we have to create a user. Still, on the IAM page under the Access management, click Users ⮕ Add users.
8. On step 1 (user details), set the username to s3-bucket-BUCKET_NAME_HERE-getput (replace the BUCKET_NAME_HERE with the actual bucket name) ⮕ click Next.
9. On step 2 (permissions), choose Attach policies directly, find the policy you just created using the search bar, and tick the box to the left of that policy ⮕ Next ⮕ On step 3 (Review and create), click Create user.
10. From the IAM users list, click on the user you just created ⮕ choose the Security Credentials tab ⮕ scroll down to the Access keys section, and click Create access key ⮕ choose Application running outside AWS ⮕ Next ⮕ click Create access key. The Access key and Secret access key will be flashed on the screen. You can record them manually or download a CSV file containing the keys.
11. Set the received Access key for the file.storage.s3.api.key property in the properties file. Similarly, the received Secret access key should be set for the file.storage.s3.api.secret property in the properties file.
Set up an expiration for an S3 bucket
Some customers that host password-protected messages sent through a web portal on a self-hosted FlowCrypt External Service may want to set a bucket-wide policy for expiring objects older than a certain age on S3. To facilitate this, we provide this guide to help you create a policy that can enable this feature on your S3 bucket.
This way, you can enable the automatic expiration and deletion of messages sent through the web portal when they’re older than a set amount of days. When the recipient visits a link pointing to messages expired this way, the web page will inform the user that the message isn’t available or is expired.
Create a Lifecycle Policy
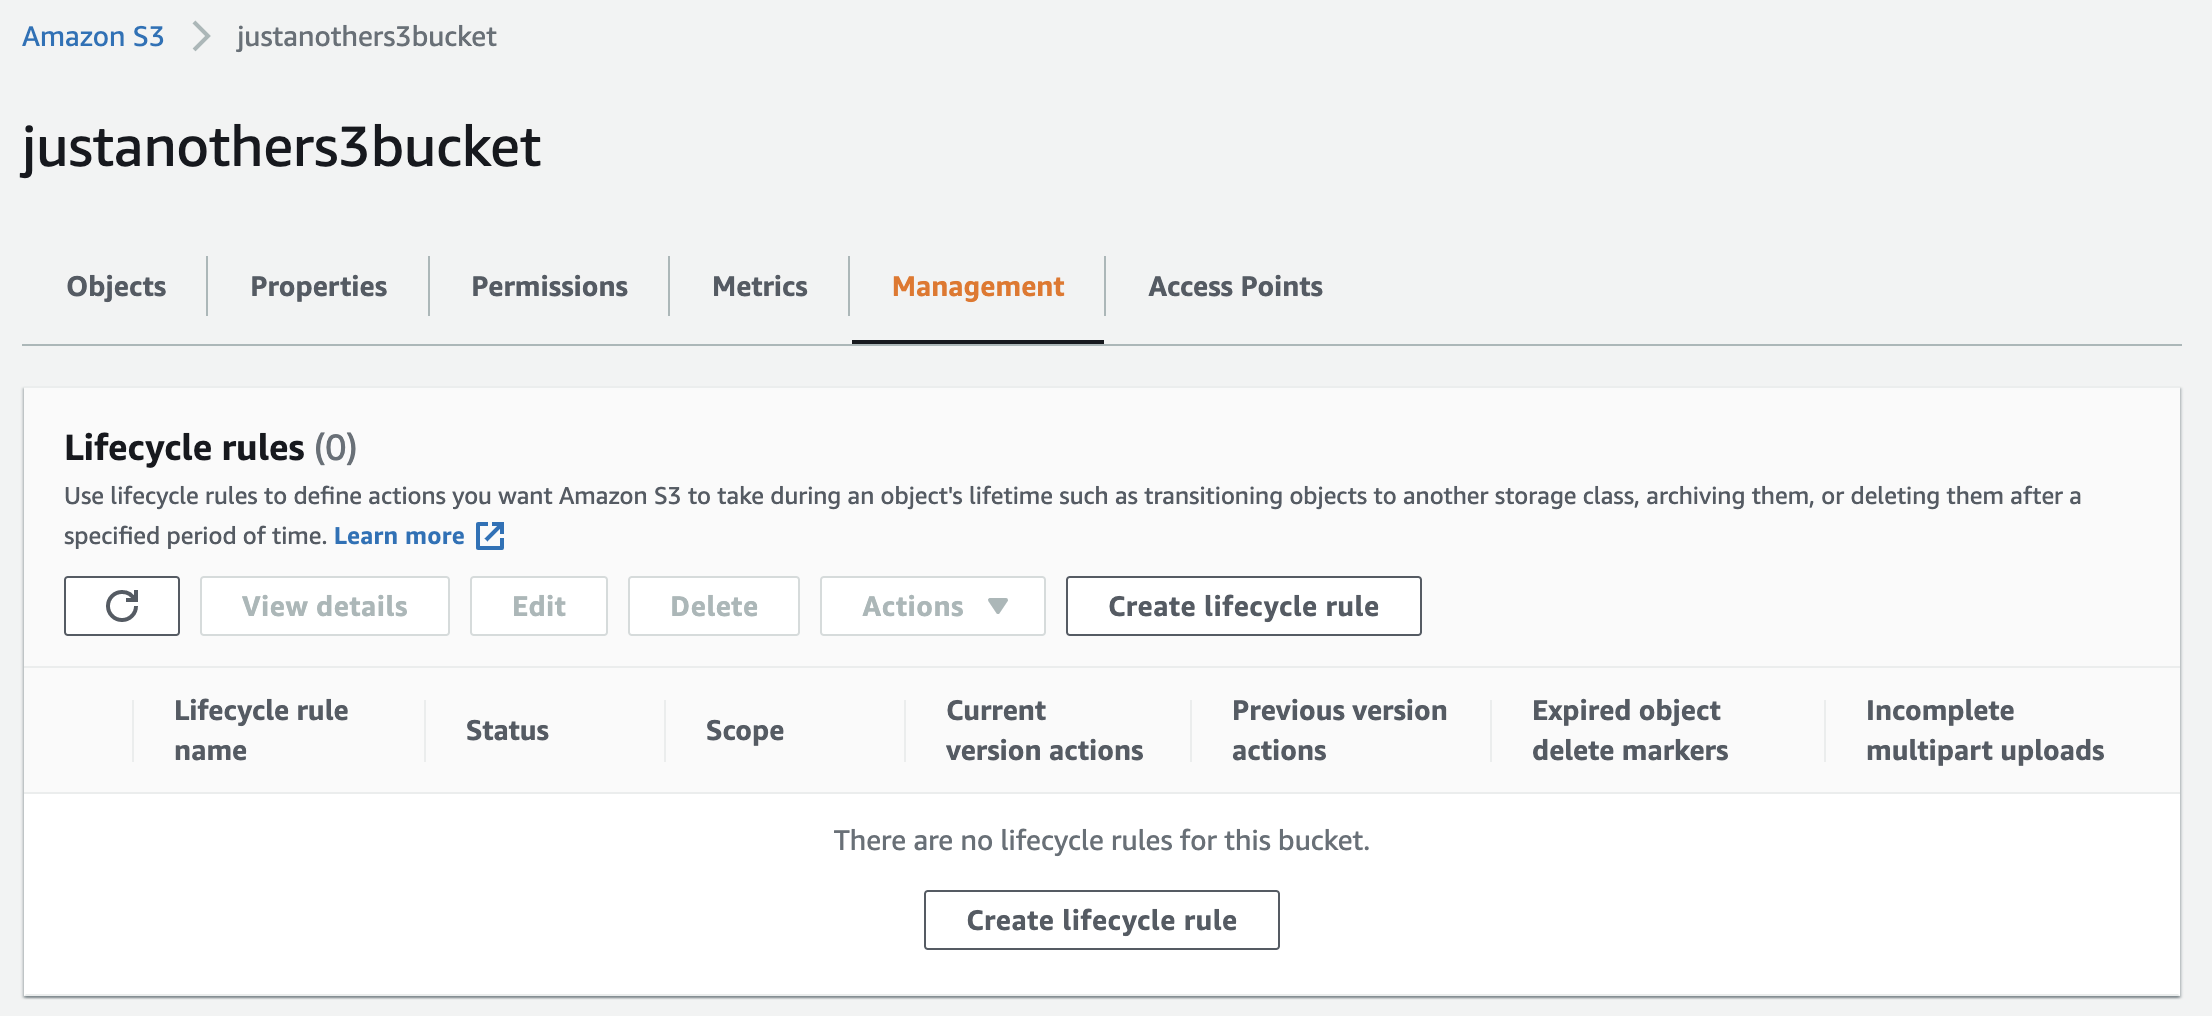
To enable the object expiration we add the appropriate Lifecycle Configuration policy to a bucket. Go to the bucket in the AWS Management Console and click Management. This should redirect you to a screen that looks like this:

Then click Create lifecycle rule, which should redirect you to a page where you can set the expiration policy. Below is an example of how you can fill out this form to create a default expiration of 3 months for all objects with the message/ key prefix:

Finally, click the Create rule button. The updated policy will now govern the bucket.
Caveats
With the abovementioned policy deployed on a bucket, the expiration will take place automatically. As a rule, expired objects are cleaned up by AWS around a day after expiration (according to the widespread anecdotal evidence), but there is no definite guarantee when this will actually happen.
Billing
The relevant AWS documentation states that objects that expired this way aren’t billed, even if they haven’t been cleaned up yet.
Security
Expired objects aren’t accessible even if they weren’t cleaned up. However, the AWS admin can still view the original object via the AWS Management Console. After the cleanup, the objects are deleted, and even the admin can’t access them anymore.